Making a smash burger starts with forming a ball of beef and pressing it flat on a screaming hot skillet. The crack and sizzle as it hits the pan is immediate and loud, like a small eruption in your kitchen.
You’ve got to work quick—flatten and leave it alone for a minute or two to develop that crust before flipping. No fancy tools, just a sturdy spatula and a bit of muscle, watching the edges crisp up and turn golden brown.
The satisfying sizzle and crackle as you smash the beef ball onto the hot skillet, creating that perfect, craggy crust.
What goes into this dish
- Ground beef: I go for 80/20 here—fat equals flavor and that irresistible sizzle. Skip lean; you’ll lose that juicy, crispy edge that makes smash burgers special.
- Salt: Just enough to enhance beef’s natural beefiness. Too much, and it’s harsh; too little, bland. I prefer kosher for a clean, bright punch.
- Pepper: Fresh cracked adds a smoky bite. Skip pre-ground; it’s dull and doesn’t release the same aroma when cooked.
- Cheese: American or cheddar—melty, gooey, and classic. No skimping, or you’ll miss that rich, velvety layer that balances the beef’s bite.
- Buns: Soft, squishy buns with a slight sweetness. Toast lightly on the skillet for crunch and to prevent sogginess from juicy beef.
- Pickles: Bright, tangy, and sharp—cut through the richness. Dill slices are my go-to, but you can swap for quick-pickled red onions for a zingy twist.
- Oil: High-smoke-point oil like canola or vegetable—just enough to slick the skillet. Skip flavored oils, they overpower that beefy aroma and crackle.
Classic Smash Burger
Ingredients
Equipment
Method
- Preheat your skillet over medium-high heat until it starts to shimmer and just begins to smoke, then add a tablespoon of oil to coat the surface.
- Divide the ground beef into four loose balls, roughly 3 ounces each, and gently shape them without compacting too tightly.
- Place a beef ball onto the hot skillet and immediately press down firmly with a sturdy spatula until it’s about 1/4 inch thick, producing a crackling sound and a sizzling aroma.
- Allow the patty to cook undisturbed for about 1-2 minutes, watching the edges turn golden and crispy.
- Use the spatula to flip the burger carefully, listening for a satisfying sizzle as it turns golden brown on the other side.
- Immediately place a slice of cheese on top of the flipped patty and cook for another 30 seconds until melted and gooey.
- While the burger finishes cooking, lightly toast the buns in the skillet until golden and slightly crispy.
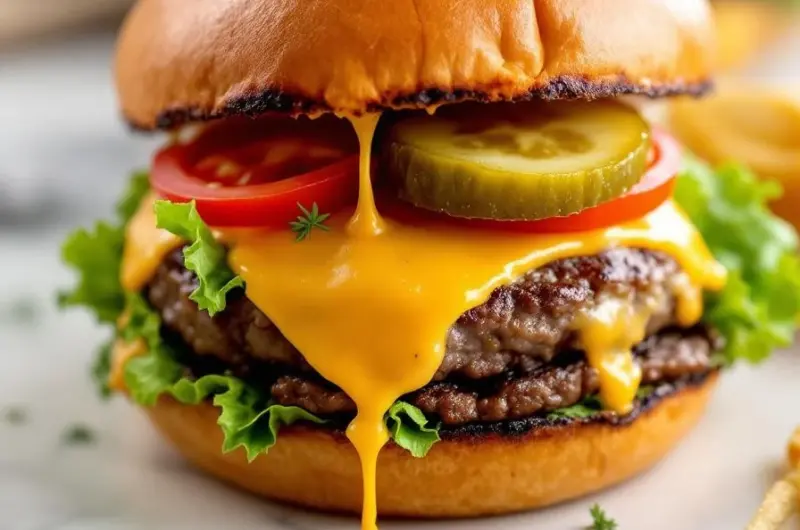
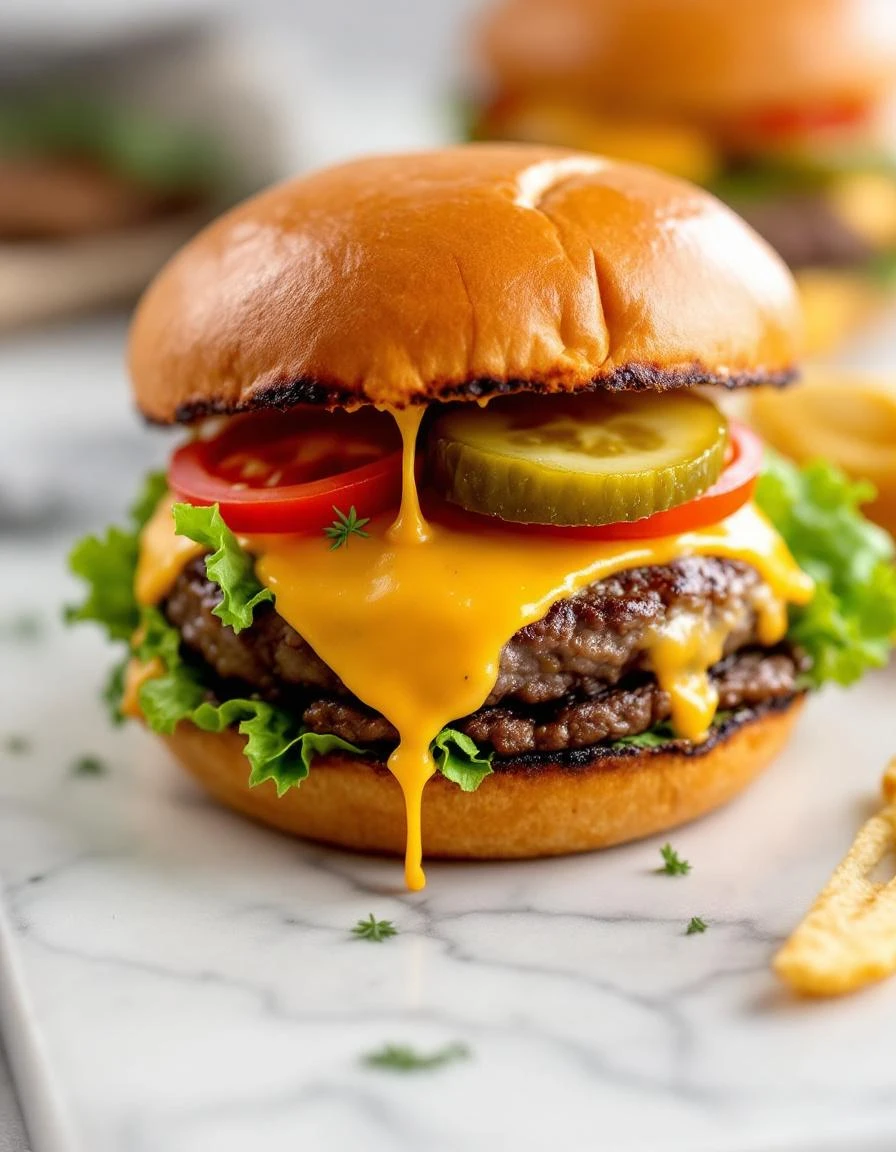
- Assemble the burger by placing the cheesy patty on the bottom bun, topping with pickles, then the top bun.
- Serve immediately, with the crispy crust, juicy beef, and melty cheese creating a perfect bite every time.
Common mistakes and how to fix them
- FORGOT to preheat the skillet: Let it heat until it’s just starting to smoke, then add oil.
- DUMPED too much oil: Use just enough to coat the surface—too much makes the burger greasy.
- OVER-TORCHED the beef: Keep an eye on the crust; remove from heat as soon as it’s deep golden.
- UNDER-CRUSHED the patty: Smash firmly for maximum crust; don’t be gentle, or it’ll stick and steam.
Make-Ahead and Storage Tips
- Pre-shape the beef into loose balls; keep refrigerated for up to 24 hours before smashing. This makes quick work of assembly.
- Prepare your burger toppings—sliced pickles, cheese slices, and condiments—a day ahead. Store in airtight containers in the fridge for up to 2 days.
- Toast your buns lightly and keep in a paper bag or sealed container. They stay fresh and ready to crisp on the skillet when needed.
- Freeze pre-formed beef balls if making in advance; they keep well for 1 month. Thaw in the fridge overnight before smashing.
- Reheat cooked patties in a hot skillet or under a broiler for a quick warm-up. Expect a slight loss of crispness, but the beef remains juicy.
- Flavor intensifies after sitting; consider a quick sprinkle of salt or a dash of smoked paprika when reheating to revive the aroma and taste.
FAQs
1. How do I know when the burger is cooked?
The patty should have a crispy, crackly crust that’s audible and slightly caramelized, with a juicy center that releases flavorful beef aroma when bitten into.
2. What’s the perfect crust texture?
Look for a deep golden-brown crust and a firm texture when pressed lightly. It should feel sturdy but give slightly, with a smoky smell wafting up.
3. How do I get a crisp crust?
Use fresh, high-fat beef, and press firmly when smashing. Don’t touch too often—let it crisp up untouched for that crunch.
4. When should I flip the burger?
Avoid over-flipping; wait until the crust is set and golden before flipping. Once flipped, the crust will deepen and smell rich and toasty.
5. How do I reheat leftovers without losing crunch?
Reheat in a hot skillet until sizzling and the crust reappears with a faint smoky aroma. Expect a slight steam from warming, but keep the crust crispy.

Hi, I’m Isabella Cury, the creator behind Elevating Simple. Food has always been my passion, but it’s not just about creating meals—it’s about taking everyday ingredients and transforming them into something extraordinary.
My journey in the culinary world has been a blend of education, dedication, and a deep love for sharing food with others. Through this blog, I aim to inspire people to find joy in simple, flavorful cooking.


