Making this cheesecake means pressing a crumb mixture into a pan, then mixing a creamy filling that’s thick but still pourable. No oven heat, so you’ll need to work quickly to spread it smoothly before it sets.
As it chills in the fridge, the filling firms up, and you’ll see the edges pull away slightly from the sides of the pan. The texture changes from runny to dense, giving you that firm yet tender bite when it’s ready to serve.
The satisfying crunch of the biscuit crust as you press it into the pan, feeling the crumbs give way beneath your fingertips.
Key ingredients and swaps
- Cream cheese: I go for the full-fat block, it’s richer and less watery. Skip the low-fat stuff unless you want a looser filling that’s not as smooth.
- Graham crackers: I crush them fine, feeling the crumbs stick to my fingers—adds a nutty crunch. You can swap in digestive biscuits or even vanilla wafers for a different vibe.
- Butter: Melted and mixed into the crumbs, it binds everything. Use salted butter if you’re feeling a bit more savory, or go unsalted to keep it neutral.
- Sugar: Just a touch to balance the tang of cream cheese. If you’re watching carbs, a splash of erythritol works, but it changes the finish a bit.
- Lemon juice: Brightens the whole thing, giving it that fresh zing. Lime juice can swap in for a slightly different citrus hit, or skip if you want less tang.
- Heavy cream: Whipped until soft peaks, it’s your airiness that keeps it light. If you don’t have heavy cream, coconut cream can add richness with a hint of coconut aroma.
- Vanilla extract: I always use pure vanilla for depth, but if you only have vanilla essence, a little goes a long way—don’t overdo it, or it’ll taste fake.
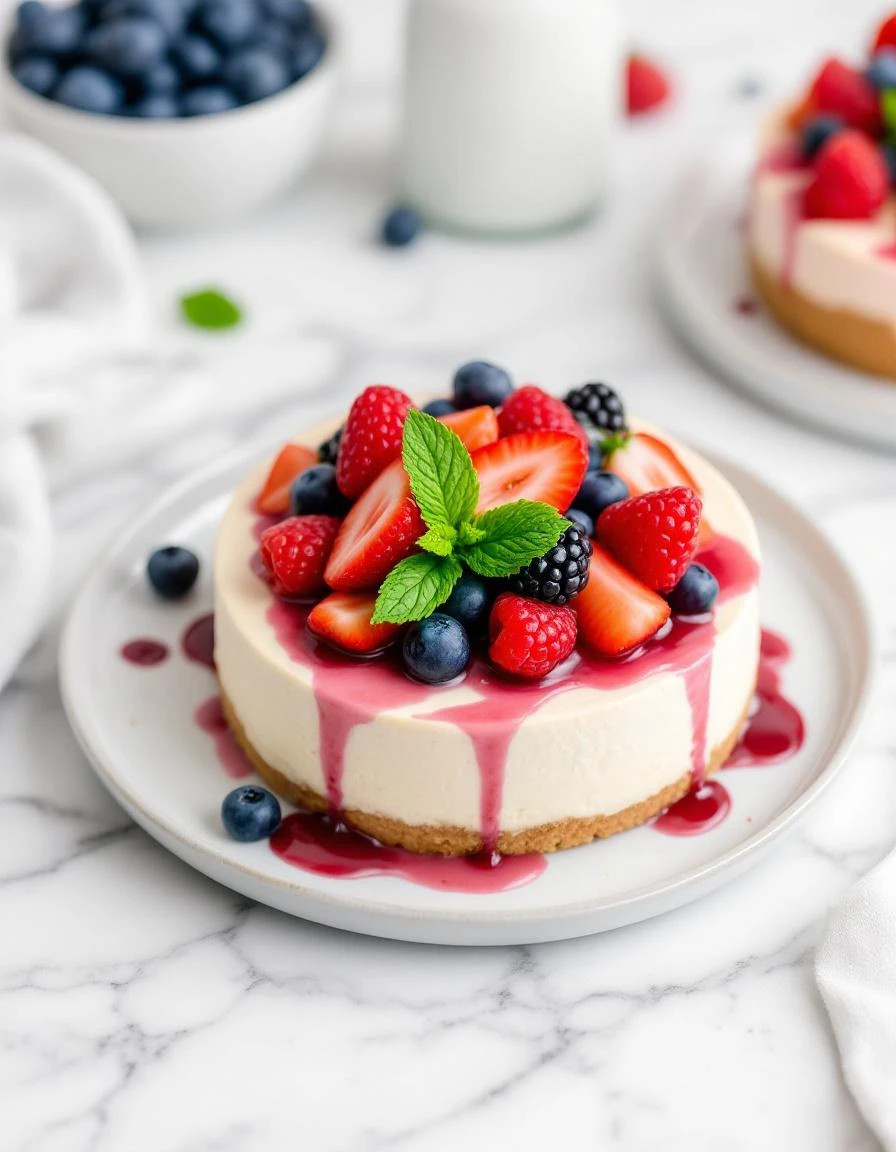
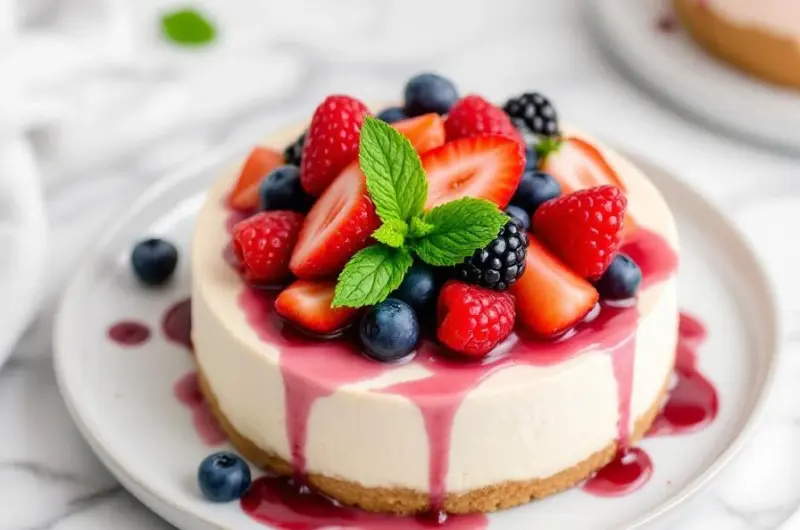
No-Bake Cheesecake
Ingredients
Equipment
Method
- Combine the graham cracker crumbs with melted butter in a bowl and stir until the crumbs are evenly coated and resemble wet sand.
- Press the crumb mixture firmly into the bottom of a springform pan, smoothing the surface with the back of a spatula. Chill the crust in the fridge for 15 minutes to set.
- In a large mixing bowl, beat the softened cream cheese with sugar until smooth and creamy, about 2-3 minutes, using a mixer or whisk.
- Add lemon juice and vanilla extract to the cream cheese mixture, and beat until well combined.
- In a separate chilled bowl, whip the heavy cream until soft peaks form, which takes about 3-4 minutes with a mixer.
- Gently fold the whipped cream into the cream cheese mixture, using a spatula, until smooth and evenly combined, being careful not to deflate the airiness.
- Pour the creamy filling over the chilled crust, smoothing the top with a spatula for an even surface.
- Cover the pan with plastic wrap and refrigerate for at least 4 hours, or overnight, until the filling is firm and set.
- Once chilled and set, remove the cheesecake from the fridge, release the sides of the springform pan, and transfer to a serving plate.
- Slice with a warm knife, wiping between cuts for clean slices, and enjoy this dense, creamy dessert with a crunchy crust.
Common mistakes and how to fix them
- FORGOT to chill the crust before filling? Freeze it for 10 minutes to prevent sliding.
- DUMPED the whipped cream too quickly? Fold gently to keep the air and fluffiness.
- OVER-TORCHED the crust edges? Keep an eye so they don’t brown or burn, reduce oven time.
- MISSED the set time? Give it longer in fridge if the center wobbles, it’s not firm enough.
Make-Ahead and Storage Tips
- You can prepare the crust and filling a day in advance, then assemble and chill overnight.
- Cover the cheesecake tightly with plastic wrap and store in the fridge for up to 3 days; the flavor deepens and the texture firms up.
- Freezing the assembled cheesecake keeps it good for up to a month; thaw in the fridge overnight before serving.
- Flavor can intensify after a day, so taste and adjust sweetness or citrus before serving.
- Refrigerate the cheesecake thoroughly before slicing—warm knives help cut clean, neat slices.
- To reheat slices slightly, warm in the microwave for 10-15 seconds—look for a gentle, creamy warmth, not melting.
FAQs
1. Can I use light cream cheese?
Yes, using full-fat cream cheese makes the filling richer and creamier. Reduced-fat varieties can make it a bit runnier and less satisfying.
2. Can I substitute the crackers?
Absolutely. You can swap graham crackers for digestive biscuits or vanilla wafers. Just crush them finely for that satisfying crunch under your fingertips.
3. What if it’s still wobbly?
If the cheesecake wobbles in the center after chilling, it needs more time to set. Give it an extra hour or two in the fridge until firm.
4. How long can I keep it?
Storing it covered in the fridge keeps it fresh for up to 3 days. For longer, freeze slices wrapped tightly for up to a month, then thaw slowly in the fridge.
5. Can I reheat a slice?
Warm slices in the microwave for about 10 seconds until just slightly soft and creamy. Avoid overheating to prevent melting or cracking the crust.

Hi, I’m Isabella Cury, the creator behind Elevating Simple. Food has always been my passion, but it’s not just about creating meals—it’s about taking everyday ingredients and transforming them into something extraordinary.
My journey in the culinary world has been a blend of education, dedication, and a deep love for sharing food with others. Through this blog, I aim to inspire people to find joy in simple, flavorful cooking.


