Setting up for beer can chicken means gathering a whole bird, seasoning it inside and out, and inserting a can of beer into the cavity. Be ready for some messy hands and a sticky surface from the marinade and spices. The prep is straightforward but demands patience to get the seasoning right and the bird evenly coated.
Grilling the chicken involves balancing the heat, keeping an eye on flare-ups, and making sure the can stays upright. The process is loud — crackling skin and sizzling fat — and you’ll need to monitor the bird to prevent burning and ensure crispy skin.
The sound of the can hissing as I open it, the crackle of the skin as it crisps up on the grill, and the satisfying crack when I carve into the juicy, smoky meat.
What goes into this dish
- Whole chicken: I prefer a bird about 4-5 pounds, skin tight and plump. Swap with a spatchcocked chicken if you want quicker cooking and crispier skin.
- Beer: A standard can of lager or pale ale gives a mild, malty flavor and smoky aroma. Use non-alcoholic beer or soda for a different twist or if you’re avoiding alcohol.
- Salt and pepper: Basic but essential for seasoning; I go heavy on salt, and cracked black pepper adds a nice punch. Tweak with paprika or herbs for extra flavor.
- Herbs and spices: I like garlic powder, paprika, and thyme; they create a fragrant crust. You can mix in cayenne for heat or lemon zest for brightness.
- Oil or butter: A quick rub of olive oil or melted butter helps crisp the skin. Skip or use a flavorful oil like sesame for a subtle nutty aroma.
- Can holder or stand: Make sure it’s sturdy so the bird stays upright on the grill. You can improvise with a metal stand or even a sturdy tin can if needed.
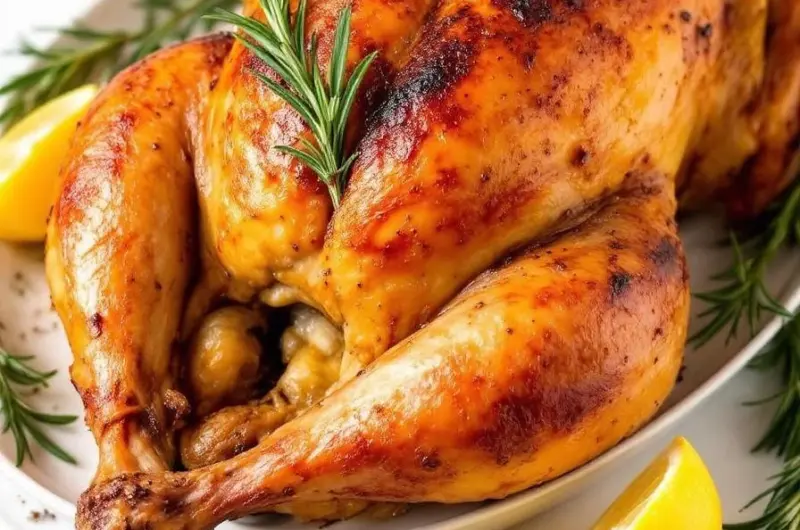
- Optional aromatics: Insert lemon wedges, garlic cloves, or herbs into the cavity for extra flavor. Skip if you prefer a more straightforward smoky chicken.
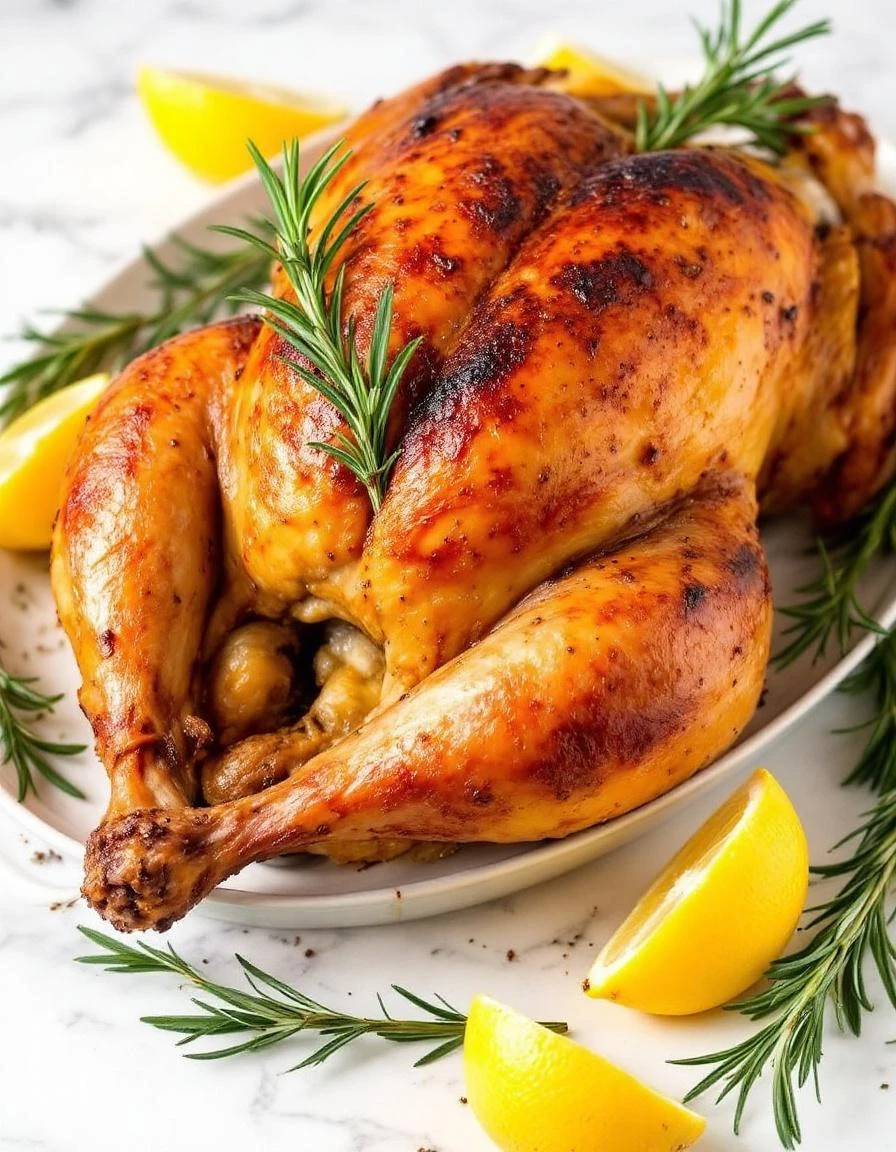
Beer Can Chicken
Ingredients
Equipment
Method
- Pat the chicken dry with paper towels and place it on a clean surface.
- Mix salt, pepper, garlic powder, paprika, and thyme in a small bowl to create the seasoning blend.
- Rub the chicken all over with olive oil, then generously massage the spice mixture into the skin and inside the cavity.
- If desired, insert lemon wedges, garlic cloves, or herbs into the chicken cavity for extra flavor.
- Open the beer can and pour out a small amount to prevent overflow; then, place the can upright on a sturdy surface.
- Lower the chicken onto the beer can, carefully balancing it so the bird stands upright with the can firmly inside the cavity.
- Preheat your grill to medium heat, around 350°F, and oil the grates to prevent sticking.
- Place the chicken upright on the grill, balancing securely over indirect heat, and close the lid.
- Grill the chicken for about 1 hour and 15 minutes, periodically checking for flare-ups and adjusting the heat as needed to maintain steady temperature.
- Use tongs to carefully remove the chicken from the grill once the skin is crispy and golden, and the internal temperature reaches 165°F in the thigh.
- Let the chicken rest for 10 minutes, then carefully remove the can and carve the bird to serve.
Common mistakes and how to fix them
- FORGOT to oil the bird: It sticks and tears; rub oil generously before seasoning.
- DUMPED the can too early: Wait until the skin crisps for full flavor and crunch.
- OVER-TORCHED the skin: Lower heat or move bird away from direct flames to prevent burning.
- MISSED checking internal temp: Use a thermometer; aim for 165°F at the thickest part.
Make-Ahead and Storage Tips
- You can season the chicken a day ahead; keep it covered in the fridge for more flavor penetration.
- The cooked chicken can be stored in the fridge for up to 3 days; reheat thoroughly to restore some juiciness.
- Freezing cooked leftovers is fine for up to 2 months; reheat in the oven until the skin crisps again and the meat is hot.
- Flavors may mellow slightly after a day or two; a quick re-season or a squeeze of lemon brightens it up.
- Reheat in a hot oven or on the grill, watching the skin for that crispy crunch and smelling the smoky aroma return.
FAQs
1. How does beer keep the chicken moist?
The chicken stays moist because the beer steams the meat from the inside, and the skin crisps up as it grills. You’ll hear that crackle as it cooks, and the aroma of smoky herbs fills the air.
2. What if the bird tips over on the grill?
Make sure the can is stable and the bird is balanced before you start grilling. If it wobbles or tips, the skin won’t crisp evenly, and you might end up with a drippy mess.
3. How do I know when the chicken is done?
Use a meat thermometer to hit 165°F in the thickest part of the thigh. The juices should run clear when you pierce the leg, and the skin should be deeply golden and crispy.
4. How do I reheat beer can chicken?
Reheat leftovers in a hot oven or on the grill until the skin sizzles again and the meat is steaming hot. The smoky aroma and crispy skin come back with a good 10-15 minutes of heat.
5. Can I prepare this ahead of time?
The flavor can mellow after a day in the fridge, so a squeeze of lemon or a sprinkle of fresh herbs before reheating lifts it back up. Keep it covered to retain moisture.

Hi, I’m Isabella Cury, the creator behind Elevating Simple. Food has always been my passion, but it’s not just about creating meals—it’s about taking everyday ingredients and transforming them into something extraordinary.
My journey in the culinary world has been a blend of education, dedication, and a deep love for sharing food with others. Through this blog, I aim to inspire people to find joy in simple, flavorful cooking.


