
Focusing on scallop freshness might seem like a given, but it’s truly the secret ingredient that elevates this simple sear from good to unforgettable. When you start with ocean-bright, briny scallops, every bite feels like a quick trip to the coast, even if you’re just in your kitchen. It’s all about catching that fleeting window when they’re at their peak—firm, sweet, and just a little translucent.
I’ve learned the hard way that no amount of fancy butter or fancy pan can mask a dull, freezer-burned scallop. Freshness makes the difference between a chewy disappointment and a delicate, melt-in-your-mouth bite. Once you get that initial sear, you realize it’s less about technique and more about respecting the ingredient’s natural brightness.
This recipe isn’t about complicated sauces or endless steps. It’s about honoring the scallop’s pure flavor with a quick, confident sear. When it works—crusty outside, tender inside—it’s a reminder that simplicity often tastes the best, especially when the star ingredient is this precious.
Focusing on the overlooked importance of scallop freshness and how it truly transforms a simple sear into a burst of oceanic brightness, making every bite feel like a coastal escape.
The overlooked secret to perfect scallops
- Getting that perfect sear feels like catching lightning in a pan—so fleeting, but so worth it.
- There’s a quiet pride in hearing that satisfying sizzle and knowing the scallops are about to shine.
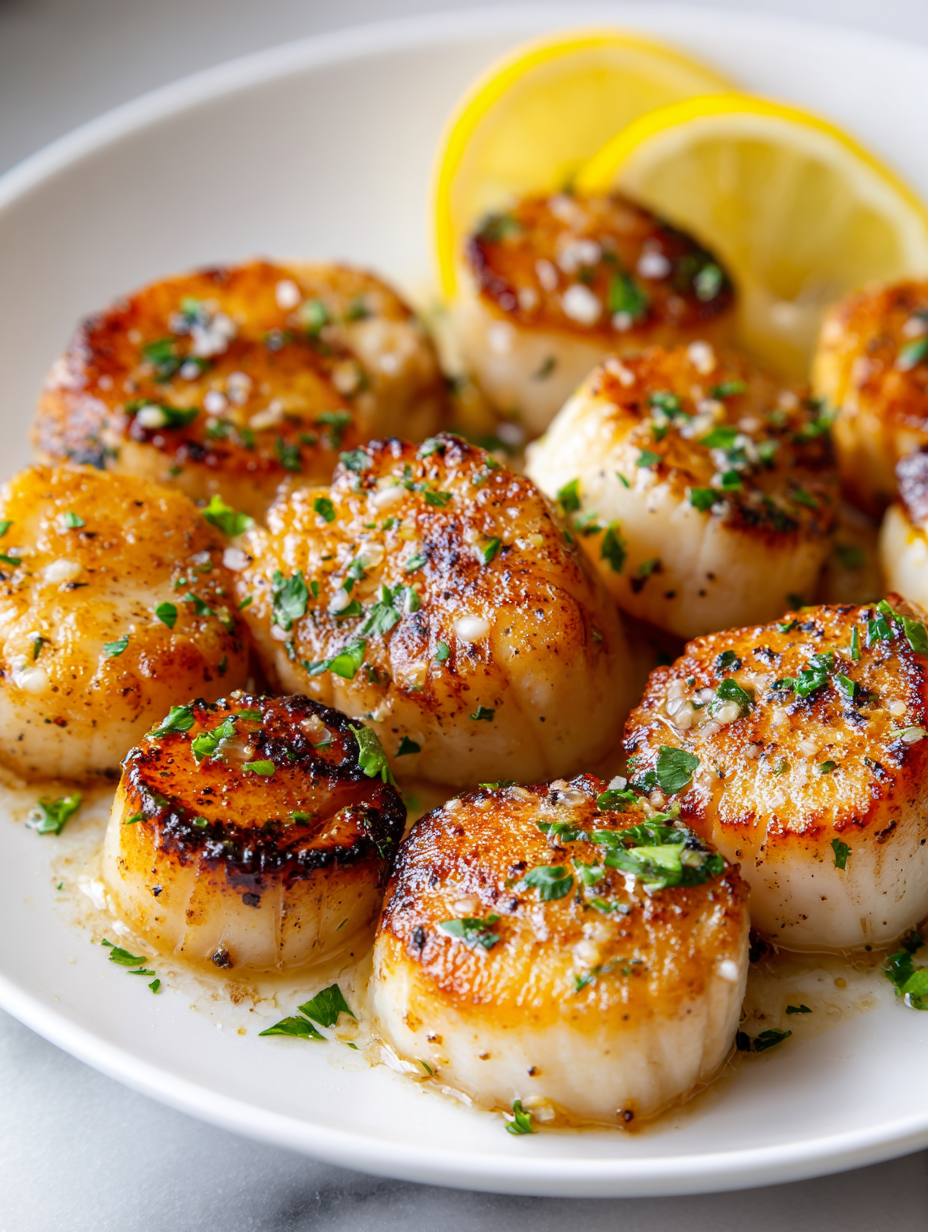
- Nothing beats the memory of that first bite—crusty outside, tender inside, ocean-bright flavor bursting through.
- I love how simple ingredients—just scallops, salt, and butter—can create a moment of pure joy on a busy night.
- Sometimes, the best cooking is about respecting the ingredient—letting freshness and technique do all the talking.
The story behind this recipe
- This dish came together after a trip to a small coastal town where I tasted the most perfectly seared scallops at a tiny seafood shack. The freshness of those scallops was undeniable, and I realized how much it influences the final bite. Since then, I’ve been obsessed with capturing that oceanic brightness in my own kitchen.
- One evening, I was experimenting with different searing techniques, trying to get that crispy, caramelized crust without overcooking the tender inside. It was a messy process—burnt scallops, rubbery ones, but finally, I hit the sweet spot. That moment of triumph made me appreciate how simple ingredients, treated well, can truly shine.
- heading: The secret ingredient of freshness
Historical & Cultural Tidbits
- Pan searing scallops became popular in French cuisine in the early 20th century, highlighting quick, high-heat cooking to preserve freshness.
- Scallops have been a prized delicacy since ancient times, with archaeological finds showing their consumption dating back thousands of years.
- The term ‘scallop’ comes from the Old French ‘escalope,’ referring to the shell’s shape, which inspired many culinary presentations.
Key ingredients and their secrets
- Dry scallops are crucial—I always pat mine dry with paper towels. Moisture is the enemy of a good sear, and that ocean-bright aroma only comes through when they’re well-dried.
- Kosher salt: I sprinkle generously before searing to enhance the natural sweetness. If you prefer less salt, just scale back, but don’t skip this step—flavor really pops.
- Black pepper: I like freshly cracked, adding it just before hitting the pan. Too early, and it burns; too late, it loses its punch. The smoky aroma when it hits the hot pan is heavenly.
- Butter: I use a mix of butter and a splash of oil—this prevents burning while still giving that rich, nutty flavor. If you want dairy-free, a light neutral oil like grapeseed works, but it lacks that toasty note.
- Lemon: I always have lemon wedges nearby. A squeeze right after searing brightens everything up with that clean, zesty hit—perfect for balancing the richness.
- Oil: I favor neutral oils with high smoke points, like canola or grapeseed. If you want a hint of nuttiness, olive oil works, but keep the heat moderate to avoid smoking.
- Optional herbs: A sprig of thyme or a few parsley leaves can add a fresh, aromatic dimension once off the heat. Just a quick sprinkle, and it’s like a coastal breeze in the dish.
Spotlight on key ingredients
Scallops:
- Fresh scallops: I always look for firm, slightly moist scallops with a sweet ocean aroma. If they smell fishy or feel slimy, skip them.
- Freshness matters: The cleaner and brighter they smell, the better they will sear—avoid frozen or improperly stored scallops for peak flavor.
- Drying scallops: I pat mine thoroughly with paper towels. Excess moisture prevents that perfect crust and can cause steaming instead of searing.
Oil and citrus:
- High-smoke-point oil: I prefer neutral oils like grapeseed or canola—no smoke, no burnt flavor. The right oil helps achieve that crisp crust.
- Butter: I use a mix of butter and oil for flavor and to prevent burning. If you want dairy-free, light neutral oil works, but you’ll miss that toasty aroma.
- Lemon: Brightens everything. I squeeze lemon right after searing for a fresh, zesty contrast to the richness of the scallops.
Notes for ingredient swaps
- Seafood Swap: Frozen scallops can work in a pinch, but fresh are unbeatable. If you must use frozen, thaw thoroughly and pat dry to avoid moisture issues.
- Oil Alternatives: Avocado oil or light sesame oil can handle high heat and add subtle flavor. Avoid overly fragrant oils that might overpower the scallops.
- Dairy-Free Butter: Use a neutral oil like grapeseed or a splash of avocado oil. You’ll miss the nutty aroma, but the sear still shines.
- Lemon Variations: Lime or orange zest and juice can brighten the dish with a different citrus twist—just use sparingly to avoid overpowering.
- Herb Boost: Fresh thyme or parsley adds aroma and freshness. Dried herbs can be used but add them at the end for a brighter flavor.
- Salt Choices: Coarse sea salt or flaky finishing salt enhances texture and flavor better than fine table salt, which can be too subtle or harsh.
- Pepper Options: White pepper or a pinch of smoked paprika can add depth or smoky aroma—use with restraint to keep the focus on the scallops.
Equipment & Tools
- Heavy skillet: Provides even heat and a good sear
- Tongs: To flip scallops without breaking them
- Paper towels: To dry scallops thoroughly
- Small spoon: To add butter or herbs precisely
Step-by-step guide to pan searing
- Gather all equipment: heavy skillet, tongs, paper towels, and a small spoon. Dry scallops thoroughly—moisture kills the sear.
- Pat scallops dry with paper towels until no surface moisture remains. Generously season both sides with kosher salt.
- Heat a heavy skillet over medium-high heat until hot—about 2-3 minutes. Add a mix of oil and butter, enough to coat the bottom.
- Once the fat shimmers and just starts to smoke, carefully place scallops in the pan, spaced apart. Do not overcrowd; work in batches if needed.
- Sear for 1.5-2 minutes without moving, until a golden crust forms. Flip scallops and cook for another 1-2 minutes. They should be opaque and firm to touch.
- Check for doneness: crust is deep golden, scallops are slightly translucent in the center, and smell nutty and oceanic. Adjust heat if necessary.
- If scallops release too much liquid or burn, reduce heat slightly or remove excess oil. For a deeper sear, increase heat briefly after flipping.
- Remove scallops from pan and transfer to a plate. Rest for 1 minute; this helps juices redistribute and keeps them tender.
- Finish with a squeeze of lemon and a sprinkle of fresh herbs. Plate immediately for best texture and flavor.
Transfer scallops to a plate, let rest for 1 minute to retain juices, then serve immediately with lemon and herbs.
How to Know It’s Done
- Crust is deep golden brown, not pale or burnt.
- Scallops feel firm but not rubbery—gentle jiggle when pressed.
- Internal color is just opaque, with a slightly translucent center when cut.
Perfect Pan-Seared Scallops
Ingredients
Equipment
Method
- Pat the scallops thoroughly with paper towels until no surface moisture remains. This step is crucial for achieving a good sear. Sprinkle generously with kosher salt on both sides.
- Place a heavy skillet over medium-high heat and let it warm for about 2-3 minutes until it’s hot and shimmering. Add the oil, swirling to coat the bottom evenly.
- Carefully place the scallops in the hot pan, spacing them apart to avoid overcrowding. You should hear a satisfying sizzle as they hit the pan. Let them cook without moving for about 1.5 to 2 minutes, until the underside is deep golden brown and crispy.
- Using tongs, gently flip each scallop and add the butter to the pan. Allow them to cook for another 1 to 2 minutes until the second side is also golden and the scallops are just opaque in the center. Baste with melted butter for extra flavor if desired.
- Remove the scallops from the pan and transfer to a plate. Squeeze fresh lemon over them immediately to brighten their oceanic flavor, then sprinkle with chopped herbs if using.
- Serve immediately while the exterior is still crisp and golden, and enjoy the tender, flavorful center with a squeeze of lemon for the perfect finishing touch.
Pro tips for perfect scallops
- Dry scallops thoroughly: Moisture is the enemy of a good sear. Pat them with paper towels until no wetness remains.
- Preheat your pan: Get your skillet hot—about 2-3 minutes over medium-high—until it shimmers and just starts to smoke.
- Use the right fat: A mix of oil and butter helps prevent burning while delivering rich flavor. Wait until it shimmers before adding scallops.
- Don’t overcrowd: Space scallops apart in the pan. Overcrowding causes steaming, not searing, and soggy crusts.
- Resist flipping too soon: Let the scallops develop a deep golden crust, about 1.5-2 minutes, before flipping. They should release easily when ready.
- Finish with lemon: Squeeze fresh lemon over scallops immediately after searing for a bright, oceanic contrast.
- Rest briefly: Let scallops rest for a minute after cooking. This keeps juices in and ensures tender bites.
Common mistakes and how to fix them
- FORGOT to pat scallops dry → They won’t sear properly; always dry thoroughly before cooking.
- DUMPED oil into pan before heating → Heat the pan first, then add oil to prevent splattering.
- OVER-TORCHED the scallops → Reduce heat immediately; aim for a golden crust, not burnt.
- MISSED resting time → Rest scallops for 1 minute after searing to lock in juices.
Quick fixes and pantry swaps
- If scallops stick, splash a bit of water to loosen them.
- When oil shimmers, add scallops immediately for a perfect sear.
- Patch burned spots with a splash of cold water to cool the pan quickly.
- Splash lemon juice to brighten flavors if scallops are bland.
- Shield overcooked scallops with a quick drizzle of butter or fresh herbs.
Prep, store, and reheat tips
- Pat scallops dry and season them a few hours ahead; keep covered in the fridge to enhance flavor absorption.
- Store raw scallops in an airtight container in the fridge for up to 24 hours; avoid freezing unless necessary, as texture can degrade.
- Refrigerated scallops should smell fresh, oceanic, with no strong fishy odor before cooking.
- Reheat cooked scallops gently in a warm (not hot) skillet for about 30 seconds on each side, just until warmed through with a slight crackle.
Top questions about pan seared scallops
1. How do I know if scallops are fresh?
Fresh scallops should smell like the ocean, not fishy or sour. If they smell off, skip them.
2. Should I dry scallops before searing?
Dry scallops thoroughly with paper towels before cooking. Moisture prevents a good sear and makes them soggy.
3. How hot should the pan be for searing?
Use a hot pan—around 200°C (392°F)—to get that perfect crust without overcooking the inside.
4. How long do I sear scallops?
Sear scallops for about 1.5-2 minutes per side until golden. They should be opaque and slightly translucent in the center.
5. How do I prevent scallops from sticking or overcooking?
Pat scallops dry, season generously, and don’t overcrowd the pan. Keep space for a crisp crust.
6. When should I add lemon or citrus?
Add lemon juice right after searing to brighten the flavor and balance the richness of the scallops.
7. Should I rest scallops after cooking?
Rest scallops for 1 minute after cooking. This helps juices settle, keeping them tender and juicy.
8. Can I use frozen scallops?
Frozen scallops can work, but thaw completely and pat dry. Fresh are always best for searing.
9. What oil should I use for searing?
Use neutral oils like grapeseed or canola for a high smoke point and clean sear. Butter adds flavor but burns easily.
10. How do I tell when scallops are done?
Overcooking causes rubbery texture. Look for a deep golden crust and opaque center to know they’re ready.
There’s something deeply satisfying about that crisp, golden crust hugging a tender scallop. When it hits just right, it’s a moment of simple perfection that sticks with you. This dish feels like a quiet celebration of good ingredients and a little bit of technique.
In a world full of complicated recipes, this one reminds me that pure, honest flavors often shine brightest. It’s a quick, honest way to bring a touch of the coast to your table—no fuss, just good scallops and a bit of heat. Sometimes, that’s all you need to end the day with something memorable.