Making cherry pie means dealing with sticky, oozing cherries that splash when you pit them. You’ll be elbow-deep in juice, with bits of cherry skin sticking to your hands.
Rolling out that stubborn crust and keeping it cold is half the battle, then wrestling the lattice into place on top. It’s messy, but that’s part of the process—getting your hands dirty is how you get the best results.
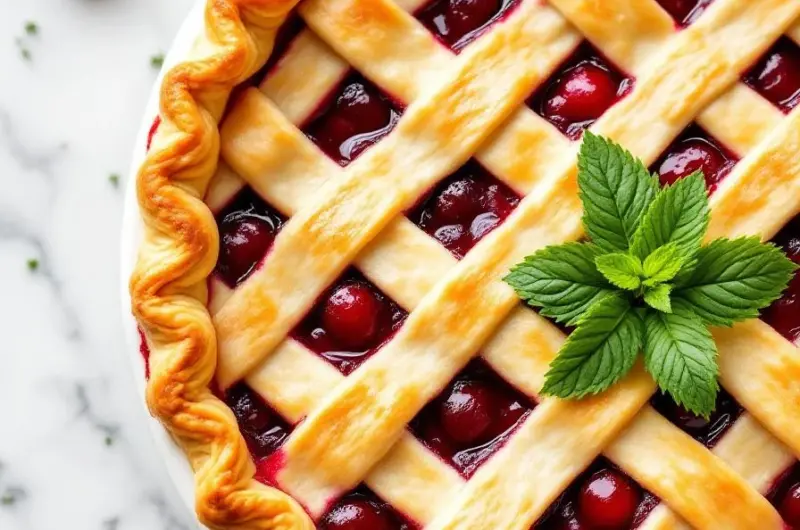
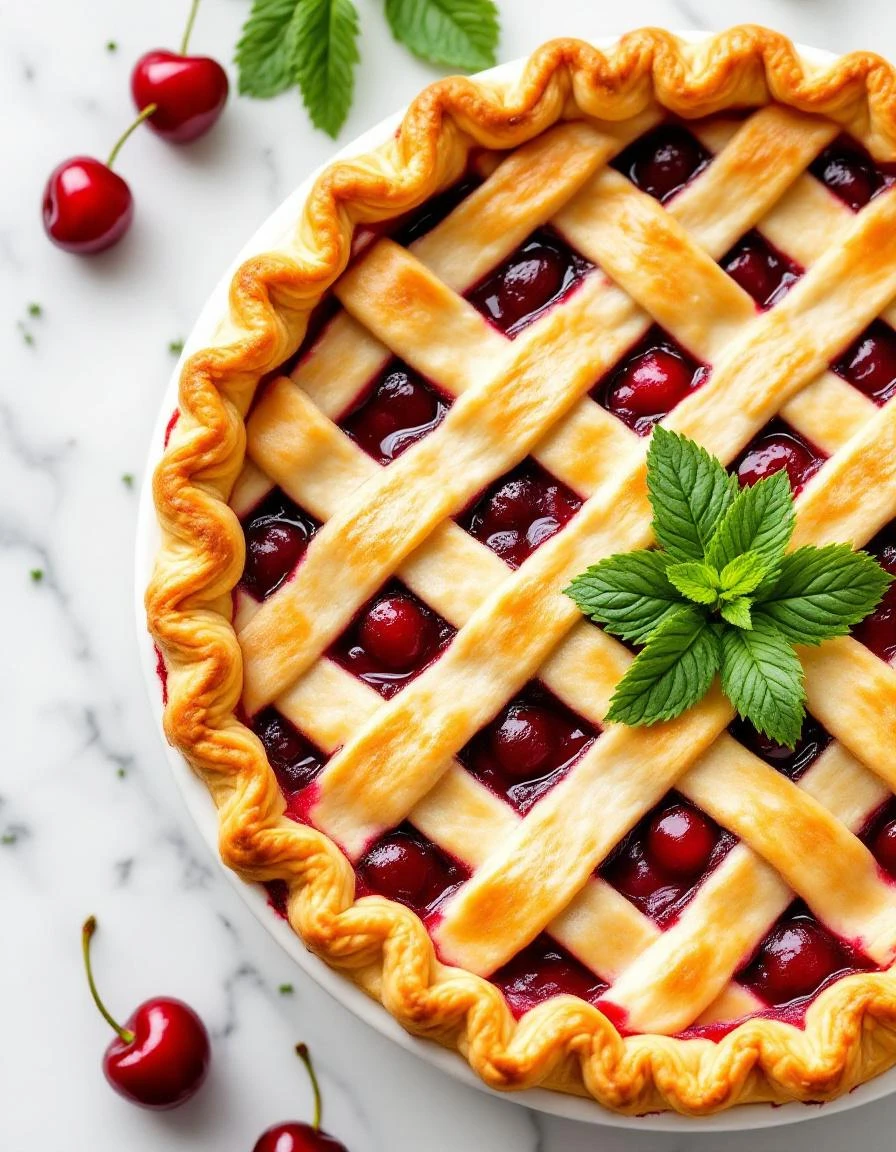
The satisfying crunch of the flaky crust giving way to the juicy, oozy cherry filling with each bite.
What goes into this dish
- Fresh cherries: I love pitting these juicy orbs, but if you’re pressed, frozen pitted cherries work fine—just drain excess juice to avoid soggy crust. The bright, tart pop when you bite into a fresh cherry is unmatched.
- Granulated sugar: I keep it simple here, but brown sugar adds a caramel note if you want a deeper sweetness. Skip if you prefer a less sweet pie, but don’t skip all sugar—it balances the tartness.
- Cornstarch: It thickens the filling and keeps it from oozing out. Tapioca starch is a good swap, especially if you want a clearer, glossier filling—just use the same amount.
- Lemon juice: A splash brightens everything up and cuts through the richness. Lime juice works too, if you want a slightly different tang, but skip if the cherries are very sweet.
- Pie crust: I swear by a classic flaky butter crust, but a store-bought crust saves time. For a nutty flavor, a touch of almond flour in the crust dough can be a surprise tweak.
- Salt: A pinch enhances the cherry flavor, don’t skip it. If you’re watching salt intake, just reduce slightly, but don’t omit entirely—flavor needs it.
- Egg wash: Brushed on top for that shiny, golden finish. If you want a vegan option, a little milk or plant-based milk works fine—just watch for uneven coloring.
Classic Cherry Pie
Ingredients
Equipment
Method
- Preheat your oven to 425°F (220°C). Place a baking sheet in the oven to catch any drips from bubbling filling.
- Pit the fresh cherries using a cherry pitter or carefully slice and remove the pits. Drain excess juice and set aside.
- In a mixing bowl, combine the cherries with sugar, cornstarch, lemon juice, and a pinch of salt. Gently fold everything together until the cherries are evenly coated and the mixture starts to thicken.
- Roll out one pie crust on a lightly floured surface to fit your pie dish, then transfer it carefully into the dish, pressing gently to remove air bubbles.
- Pour the cherry filling into the prepared crust, spreading it evenly with a spoon. Dot with a few extra cherries if desired.
- Roll out the second pie crust and cut strips to create a lattice pattern. Place the strips over the filling, weaving them for a classic look.
- Trim any excess crust and pinch the edges together to seal. Brush the lattice and edges with beaten egg to promote a shiny, golden finish.
- Bake the pie in the preheated oven for about 45 minutes, until the crust is golden brown and filling is bubbling around the edges. Cover the edges with foil if they brown too quickly.
- Remove the pie from the oven and let it cool on a wire rack for at least 2 hours to allow the filling to set and thicken.
- Slice and serve your cherry pie warm or at room temperature, perhaps with a dollop of whipped cream or a scoop of vanilla ice cream.
Common Cherry Pie Mistakes and Fixes
- FORGOT the pie crust to be cold, causing uneven layers—keep ingredients chilled before rolling.
- DUMPED too much filling, overflowing the crust—leave a border to prevent spillage during baking.
- OVER-TORCHED edges, resulting in bitterness—cover edges with foil after 20 minutes.
- FAILED to drain excess cherry juice, making crust soggy—pat cherries dry before filling.
Make-Ahead and Storage Tips
- Cherries can be pitted a day in advance; keep them covered in the fridge to prevent spoilage.
- Assemble and refrigerate the pie unbaked for up to 24 hours; the crust stays crisp if kept cold.
- Freezing baked or unbaked pie is fine for up to 2 months; wrap tightly to prevent freezer burn.
- Filling flavors deepen overnight, so consider making it a day ahead; just add it to the crust before baking.
- Reheat slices in a 350°F oven, checking for bubbling and a golden crust; avoid microwaves to keep the crust crisp.
FAQs
1. How do I know when the pie is done?
Cherry pie should smell like tart cherries with a hint of buttery crust. When it’s bubbling at the edges, it’s ready.
2. What’s the best way to check if it’s cooked through?
The filling will thicken and look glossy, with bubbling juices around the edges. The crust should be golden and flaky.
3. Can I use frozen cherries?
Use ripe cherries for vibrant flavor and a good balance of sweet and tart. Frozen cherries work too—just drain excess juice.
4. How do I reheat leftover pie?
Reheat in a warm oven until the crust is crisp and filling is hot and bubbling—around 15 minutes at 350°F. The smell of warm cherry juice is irresistible.
5. What’s a good way to serve leftover pie?
Serve slightly warm, with a dollop of cream or a scoop of vanilla ice cream. The contrast of cold and warm makes every bite feel rich.

Hi, I’m Isabella Cury, the creator behind Elevating Simple. Food has always been my passion, but it’s not just about creating meals—it’s about taking everyday ingredients and transforming them into something extraordinary.
My journey in the culinary world has been a blend of education, dedication, and a deep love for sharing food with others. Through this blog, I aim to inspire people to find joy in simple, flavorful cooking.


